For website accessibility, it is best to add links on the heading of the card itself.
The heading text provides context to the link destination and is announced by assistive technologies.
However, websites often want the entire card or container to be clickable, not just the heading.
This makes it easier for people who might have a hard time moving their hands precisely. Instead of needing to click on a small text link, they can click anywhere inside the card.
The best and most accessible way to achieve this is by using a pseudo element on the link and expanding the clickable area over the entire card.
This is often called a clickable parent, clickable container, stretched link, or CSS pseudo link.
We do not want to add the link directly on the parent container or have a ‘Read More’ link on the card, because this removes the destination context.
Below is a great video by Kevin Geary showing the clickable parent technique for Bricks Builder.
To get this working in Elementor we need to add a little extra CSS. Credit to the author from which I modified the code:
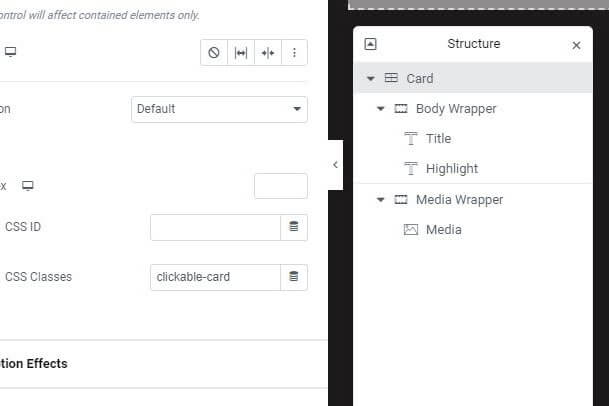
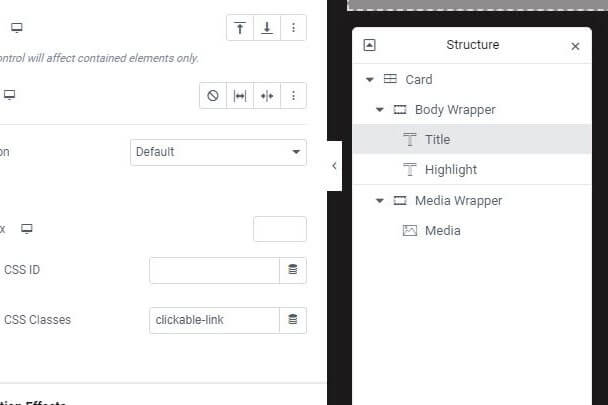
You need to apply two classes – clickable-card and clickable-link:
clickable-card : This is applied to the card container

clickable-link : This is applied to the heading that contains the link.

CSS Code
/* Create and position :after pseudo-element */
.clickable-card :not(.elementor-element-overlay, .elementor-element-overlay *, .elementor-shape, .ui-resizable-handle, .clickable-card--excluded) {
    position: static;
}
.clickable-card {
    position: relative;
}
.clickable-link a::after {
    content: "";
    position: absolute;
    inset: 0;
    cursor: pointer!important;
    display: block;
    z-index: 99;
	/*border: 5px solid red;*/
}
Warning – You cannot use animations applied to this card from the Elementor UI. It breaks the clickable card technique.